How to Make Homemade Plant Fertilizer from Kitchen Scraps?
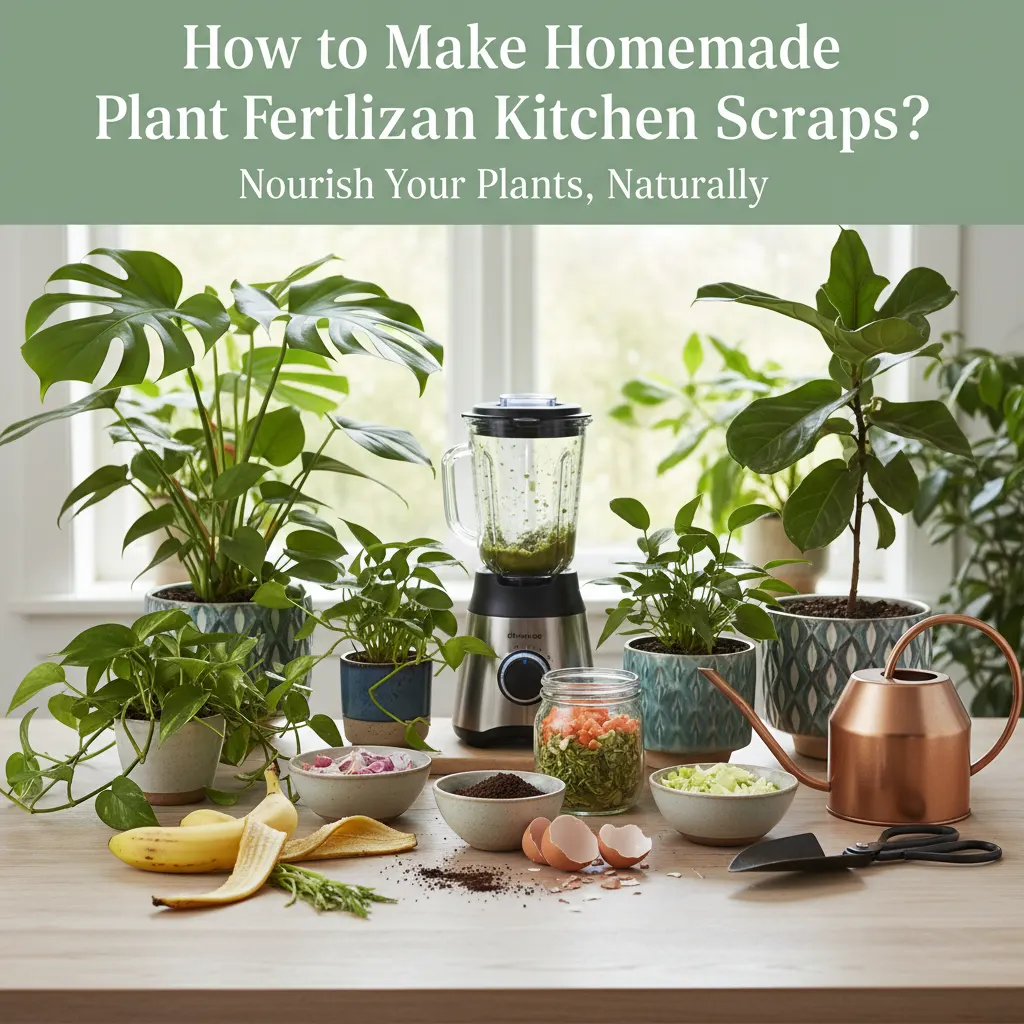
Homemade plant fertilizer from kitchen green wastes and food scraps is an eco-friendly and cost-effective way to nourish your plants. Methods include composting, creating compost tea, and direct application. These fertilizers enrich soil with essential nutrients, promoting healthier plant growth and reducing waste. Key tools include a compost bin, buckets, and a watering can.
Transforming your kitchen waste into nutrient-rich plant food is a cornerstone of sustainable gardening. Not only does it divert valuable organic matter from landfills, but it also provides your plants with a gentle, chemical-free boost, fostering robust growth and vibrant blooms. This comprehensive guide will walk you through various methods, suitable materials, essential tools, and effective application techniques to help you cultivate a thriving garden using what you already have.
What Kitchen Wastes Are Best for Homemade Fertilizer?
Fruit and vegetable peels, coffee grounds, eggshells, and tea bags are excellent sources of nitrogen, phosphorus, and calcium, vital for plant health. Avoid meat, dairy, and oily foods as they can attract pests and slow decomposition.
Understanding which kitchen scraps are beneficial and which to avoid is the first step in successful homemade fertilizer creation. "Green" materials, rich in nitrogen, include fruit and vegetable scraps (excluding citrus in large quantities), coffee grounds, and tea leaves. "Brown" materials, rich in carbon, are also important for composting but are less common directly from the kitchen (think paper towels, cardboard, dry leaves). For direct application or compost tea, focus on nutrient-dense items. Banana peels are a fantastic source of potassium, crucial for flowering and fruiting. Eggshells provide calcium, strengthening cell walls and preventing blossom end rot. Coffee grounds add nitrogen and can slightly acidify the soil, benefiting acid-loving plants. Always avoid meat, bones, dairy products, and oily foods, as these can attract pests, create foul odors, and decompose slowly, potentially harboring harmful bacteria. Citrus peels can be used in moderation in compost but may slow decomposition due to their acidity and pest-repelling compounds.
How to Make Compost: The Foundation of Homemade Fertilizer
Composting involves layering 'greens' (nitrogen-rich scraps) and 'browns' (carbon-rich materials like leaves) in a bin, maintaining moisture, and turning regularly. This aerobic process breaks down organic matter into nutrient-rich humus.
Composting is the most comprehensive method for converting kitchen scraps into a versatile soil amendment. It's a natural process where microorganisms break down organic materials into a dark, crumbly, nutrient-rich substance called humus. To start, you'll need a compost bin – this can be a simple pile, a store-bought tumbler, or a DIY structure. The key is to maintain a balance of "greens" (nitrogen-rich, like your kitchen scraps) and "browns" (carbon-rich, like dry leaves, shredded paper, or wood chips). A good ratio is roughly 1 part green to 2-3 parts brown. Layering these materials helps ensure proper aeration and decomposition. Keep the compost pile consistently moist, like a wrung-out sponge, and turn it regularly (weekly or bi-weekly) to introduce oxygen, which speeds up the decomposition process and prevents anaerobic conditions that can lead to foul odors. A well-maintained compost pile should not smell bad; a sweet, earthy aroma indicates healthy decomposition. The finished compost, ready in a few weeks to several months depending on conditions, will be dark, crumbly, and have an earthy smell, with no recognizable original materials.
Creating Nutrient-Rich Compost Tea for Liquid Feeding
Compost tea is a liquid fertilizer made by steeping finished compost in water. This extracts beneficial microbes and soluble nutrients, providing a gentle, fast-acting boost for plants, especially seedlings and delicate foliage.
Compost tea offers a quick and easily absorbed nutrient boost for your plants, acting as both a fertilizer and a microbial inoculant. To make it, you'll need finished compost, a large bucket, and non-chlorinated water (rainwater or tap water left out for 24 hours to dissipate chlorine). Place a shovel-full or two of mature compost into a porous bag (like a burlap sack, old pillowcase, or cheesecloth) and submerge it in the bucket of water. You can also simply add the compost directly to the water and strain later. Let it steep for 24-48 hours, stirring occasionally. For an "aerated" compost tea, you can use an aquarium air pump and air stone to continuously oxygenate the mixture, which encourages beneficial aerobic microbes. The resulting liquid should be light brown, resembling weak tea. Dilute this concentrate further before applying – a common ratio is 1 part compost tea to 10 parts water, especially for young plants or foliar feeding. Apply it directly to the soil around the base of plants or as a foliar spray, preferably in the early morning or late evening to avoid scorching leaves.
Direct Application Methods: Simple Ways to Nourish Plants
Some kitchen scraps, like banana peels and coffee grounds, can be directly incorporated into soil around plants or buried. This method offers slow-release nutrients and improves soil structure, but requires careful consideration to avoid pests.
For gardeners seeking simpler, more immediate ways to use kitchen scraps, direct application can be effective for certain materials. This method involves burying or incorporating specific scraps directly into the garden soil. Banana peels, rich in potassium, can be chopped and buried a few inches deep near potassium-loving plants like tomatoes or roses. Eggshells, crushed into a fine powder, can be sprinkled around plants to provide calcium and deter slugs. Coffee grounds can be worked into the topsoil around acid-loving plants like blueberries, azaleas, or hydrangeas, providing a nitrogen boost and improving soil structure. It's crucial to bury scraps rather than leaving them on the surface to prevent attracting pests like rodents or insects. Also, avoid applying large quantities of fresh scraps directly, as they can decompose slowly and potentially tie up nitrogen in the soil, temporarily depriving plants. This method is best for small, targeted applications and as a supplement to other fertilization strategies.
Essential Tools for Your Homemade Fertilizer Project
Key tools include a compost bin or pile, a sturdy bucket for compost tea, a watering can for application, and gardening gloves. A garden fork or aerator is useful for turning compost, and a shredder can speed up decomposition.
Embarking on your homemade fertilizer journey requires a few basic tools, most of which you might already own. For composting, a dedicated compost bin is highly recommended. Options range from simple open piles to enclosed tumblers or multi-bin systems. A garden fork or aerator is invaluable for turning your compost pile, ensuring proper oxygenation. For making compost tea, a large, sturdy bucket (5-gallon is ideal) is essential, along with a porous bag (like a mesh laundry bag or old t-shirt) to hold the compost. A watering can with a fine rose attachment is perfect for applying liquid fertilizers evenly to your plants. Gardening gloves are a must for hygiene and protection. Optional tools that can enhance efficiency include a food processor or shredder to break down scraps into smaller pieces, accelerating decomposition, and a sieve or cheesecloth for straining compost tea if you're not using a bag. An aquarium air pump can also be used for aerated compost tea.
How to Safely and Effectively Use Homemade Fertilizers
Apply compost tea diluted to avoid nutrient burn, typically every 2-4 weeks. Finished compost can be top-dressed or mixed into soil. Direct application of scraps should be done sparingly and buried to deter pests and ensure proper breakdown.
Proper application is key to maximizing the benefits of your homemade fertilizers while avoiding potential pitfalls. For finished compost, it can be used as a soil amendment by mixing it into garden beds before planting, or as a top-dressing around established plants. Spread a 1-2 inch layer around the base of plants, keeping it a few inches away from the stem to prevent rot. This can be done once or twice a year, typically in spring and fall. Compost tea should always be diluted before use. A good starting point is a 1:10 ratio (1 part tea to 10 parts water), adjusting based on plant needs and tea strength. Apply it every 2-4 weeks, either as a soil drench or a foliar spray. For direct application of scraps, always bury them at least 4-6 inches deep and away from plant roots to prevent pest attraction and allow for proper decomposition. Monitor your plants for any signs of over-fertilization (e.g., burnt leaf tips, stunted growth) and adjust application rates accordingly. Remember, homemade fertilizers are generally gentler than synthetic ones, but moderation is still important.
Common Problems & Troubleshooting
Problem: My compost pile smells bad.
Solution: A foul odor usually indicates anaerobic conditions. Add more "brown" materials (carbon), turn the pile more frequently to introduce oxygen, and ensure it's not too wet. Avoid adding meat or dairy.
Problem: My compost isn't breaking down.
Solution: This often means a lack of nitrogen, moisture, or aeration. Add more "green" materials, moisten the pile if it's dry, and turn it regularly. Smaller pieces of scraps decompose faster.
Problem: Pests are attracted to my compost or directly applied scraps.
Solution: Ensure all food scraps are buried deeply in the compost pile or garden soil. Avoid adding meat, dairy, or oily foods. Keep your compost bin securely covered.
Problem: My plants show signs of nutrient burn after using homemade fertilizer.
Solution: This is rare with compost but can happen with concentrated compost tea. Always dilute compost tea significantly (e.g., 1:10 ratio) before applying. Apply finished compost in moderation, not directly against plant stems.
Expert Tips & Advanced Techniques
- Vermicomposting (Worm Composting): For indoor or small-space gardening, a worm bin is an excellent way to process kitchen scraps. Red wiggler worms efficiently convert food waste into nutrient-rich worm castings and "worm tea," both highly beneficial for plants.
- Bokashi Composting: This anaerobic fermentation method uses a special bran inoculated with beneficial microbes to pickle food scraps, including meat and dairy, before they are buried or added to a traditional compost pile. It's faster and can handle a wider range of materials.
- Seasonal Scraps: Consider the seasonal availability of certain scraps. For instance, fall leaves are excellent "browns" for composting, while summer's abundant fruit and vegetable scraps provide a wealth of "greens."
- Soil Testing: Periodically test your soil to understand its nutrient profile. This helps you tailor your homemade fertilizer inputs to address specific deficiencies, ensuring your plants get exactly what they need.
FAQ Section
Can I use citrus peels in homemade fertilizer?
Yes, citrus peels can be used in moderation in a compost pile. However, their acidity can slow down decomposition if added in large quantities, and some gardeners prefer to avoid them due to potential pest-repelling compounds that might also affect beneficial microbes. It's best to chop them into small pieces.How often should I apply homemade compost tea?
Compost tea is a gentle fertilizer, so it can be applied more frequently than synthetic options. For most plants, applying diluted compost tea every 2-4 weeks during the growing season is a good general guideline. Adjust based on plant needs and growth stage.Are eggshells really good for plants?
Absolutely! Eggshells are an excellent source of calcium carbonate, which is vital for strong cell walls and preventing issues like blossom end rot in tomatoes and peppers. Crush them finely before adding to compost or directly to the soil for best absorption.What's the difference between compost and compost tea?
Compost is a solid, decomposed organic matter that acts as a long-term soil amendment, improving soil structure, water retention, and providing slow-release nutrients. Compost tea is a liquid extract of compost, offering a quick burst of soluble nutrients and beneficial microbes, ideal for immediate plant feeding and foliar application.How long does it take to make compost?
The time it takes to make compost varies significantly, from a few weeks to several months. Factors like the balance of green and brown materials, moisture levels, aeration (turning), and the size of the scraps all play a role. A well-managed, hot compost pile can be ready in 2-3 months, while a passive pile might take a year or more.Will homemade fertilizer attract pests?
If not managed properly, yes. Leaving fresh food scraps exposed on the soil surface or in an open compost pile can attract rodents, flies, and other pests. Always bury direct applications of scraps deeply and ensure your compost bin is securely covered and well-aerated to prevent odors that attract pests.Summary & Next Steps
Creating homemade plant fertilizer from kitchen green wastes and food scraps is a rewarding and sustainable practice that benefits both your garden and the environment. By understanding the right materials, methods, and application techniques, you can significantly reduce waste and cultivate healthier, more vibrant plants.
Key Takeaways:
- Utilize fruit/veg scraps, coffee grounds, and eggshells; avoid meat/dairy.
- Composting provides a versatile, long-term soil amendment.
- Compost tea offers a fast-acting liquid nutrient boost.
- Direct application works for specific scraps, buried deeply.
- Essential tools include a compost bin, buckets, and a watering can.
- Always dilute compost tea and bury scraps to prevent issues.
Ready to transform your kitchen waste into garden gold? Start by collecting your suitable kitchen scraps today. Set up a small compost bin or a bucket for compost tea, and observe how your plants respond to this natural nourishment. For further reading, explore topics like vermicomposting for indoor solutions or advanced soil testing to fine-tune your garden's nutrition.