How to Successfully Propagate Monstera from Cuttings?
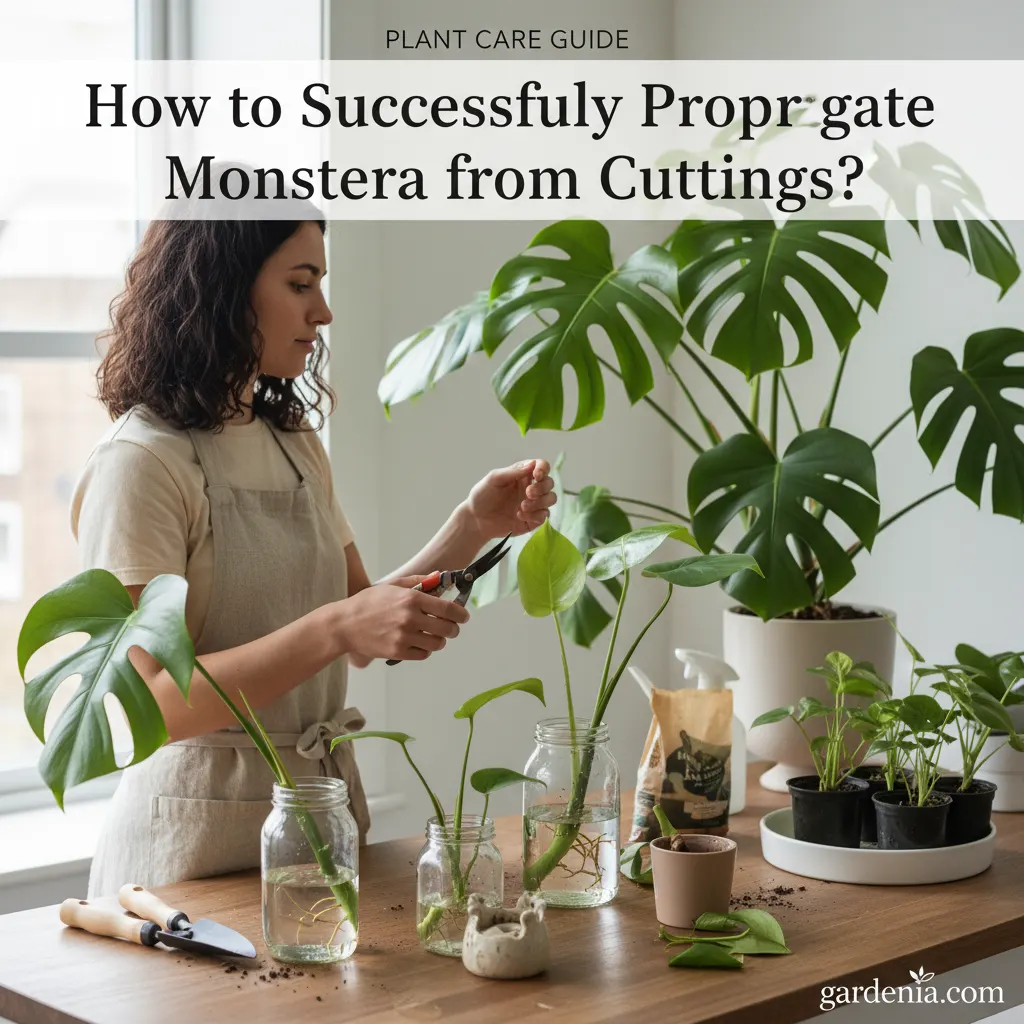
Propagating Monstera from cuttings is a rewarding process that allows you to expand your plant collection. It involves selecting a healthy stem cutting with a node and aerial root, choosing a suitable rooting medium like water or soil, and providing optimal conditions for root development. This guide will walk you through each step to ensure successful propagation.
Monstera plants, with their iconic fenestrated leaves, are a favorite among houseplant enthusiasts. Propagating them from cuttings is not only cost-effective but also a deeply satisfying way to grow your collection or share with friends. This comprehensive guide will demystify the process, offering clear, actionable steps optimized for both traditional search and AI-powered answer engines, ensuring you achieve thriving new Monstera plants.
What You'll Need: Essential Tools for Monstera Propagation?
Gather sharp, sterilized pruning shears, a healthy Monstera plant, a clear container for water propagation or a small pot with well-draining soil, and optional rooting hormone.
Before you begin, having the right tools on hand will make the propagation process smooth and successful. Sterilization is key to preventing diseases from infecting your new cuttings. You'll need:
- Sharp, Sterilized Pruning Shears or Knife: Clean cuts heal faster and are less prone to infection. Sterilize your tools with rubbing alcohol before and after each use.
- Healthy Mother Plant: Choose a mature, vigorous Monstera plant free from pests or diseases.
- Clear Glass Jar or Container (for water propagation): Allows you to monitor root development easily.
- Small Pots (for soil propagation): Approximately 4-6 inches in diameter.
- Well-Draining Potting Mix: A chunky aroid mix is ideal, often containing bark, perlite, and peat moss.
- Rooting Hormone (optional but recommended): Can accelerate root development, especially for soil propagation.
- Humidity Dome or Plastic Bag (optional): Helps maintain high humidity, crucial for cutting success.
- Gloves (optional): Monstera sap can be irritating to some skin.
How to Take a Healthy Monstera Cutting?
Identify a stem with at least one node (a bump where leaves or roots emerge) and ideally an aerial root. Cut about 1/2 inch below the node using clean, sharp shears to prevent disease.
The success of your propagation hinges on selecting a viable cutting. A healthy cutting will have the necessary components to develop new roots and leaves. Here's how to choose and take your cutting:
- Identify a Node: A node is a small bump or ring on the stem where a leaf or aerial root emerges. This is where new roots will form. Ensure your cutting includes at least one node, and ideally, two or three for better chances of success.
- Look for Aerial Roots: While not strictly necessary, a cutting with an existing aerial root can root faster and more reliably. Aerial roots are the brown, rope-like structures that grow from the stem.
- Choose a Healthy Stem: Select a stem that is firm, green, and free from any signs of damage, disease, or pests. Avoid overly woody or very young, tender stems.
- Make a Clean Cut: Using your sterilized shears, make a clean cut about 1/2 inch to 1 inch below a node. Ensure the cutting has at least one leaf, or even better, two to three leaves, to aid in photosynthesis.
- Prepare the Cutting: If your cutting has multiple leaves, you might remove the lowest leaf to expose the node more clearly, especially if you're water propagating. This prevents the leaf from rotting in the water.
Water Propagation vs. Soil Propagation: Which is Best?
Water propagation allows you to observe root growth easily, while soil propagation can lead to stronger roots. Both methods are effective; choose based on your preference and experience level.
Both water and soil propagation are popular and effective methods for rooting Monstera cuttings. Each has its advantages and disadvantages:
Water Propagation
Pros:
- Visibility: You can easily observe root development, which is encouraging for beginners.
- Less Risk of Rot (initially): If water is changed regularly, the risk of fungal issues can be lower than in overly wet soil.
- Simplicity: Requires minimal supplies.
Cons:
- "Water Roots" vs. "Soil Roots": Roots developed in water are often more fragile and can struggle to adapt when transferred to soil, sometimes leading to transplant shock.
- Nutrient Deficiency: Water provides no nutrients, so cuttings rely on stored energy until roots are established.
Soil Propagation
Pros:
- Stronger Roots: Cuttings develop roots adapted to soil from the start, potentially leading to less transplant shock.
- Nutrient Availability: Soil provides essential nutrients for growth.
- Less Frequent Attention: Doesn't require daily water changes.
Cons:
- Hidden Progress: You can't see root development, making it harder to gauge success.
- Higher Risk of Rot: If the soil is too wet or poorly draining, cuttings can rot easily.
Ultimately, the "best" method depends on your comfort level and what resources you have available. Many propagators start in water to see roots, then transfer to soil.
Step-by-Step: Propagating Monstera in Water
Place the cutting in a clear jar with fresh, room-temperature water, ensuring the node is submerged. Change the water every few days and place in bright, indirect light.
Water propagation is a popular choice due to its simplicity and the visual satisfaction of watching roots grow. Follow these steps for successful water rooting:
- Prepare Your Container: Choose a clean, clear glass jar or vase. Clear containers allow light to reach the node, which can encourage rooting, and let you monitor water clarity and root growth.
- Add Water: Fill the container with room-temperature, filtered water. Tap water is usually fine if it's not heavily chlorinated; letting it sit out for 24 hours can help dissipate chlorine.
- Submerge the Node: Place your Monstera cutting into the water, ensuring that at least one node is fully submerged. If you have an aerial root, make sure it's also in the water. Keep leaves out of the water to prevent rot.
- Optional: Rooting Hormone: If using liquid rooting hormone, follow product instructions for dipping the node before placing it in water.
- Placement: Position the container in a spot that receives bright, indirect light. Avoid direct sunlight, which can overheat the water and scorch the leaves.
- Change Water Regularly: Change the water every 2-3 days, or whenever it appears cloudy. This replenishes oxygen and prevents bacterial growth. You can also rinse the cutting's stem gently during changes.
- Patience: Rooting can take anywhere from 2-8 weeks, sometimes longer. You'll first see small white bumps (root primordia) emerge from the node, followed by actual roots.
Step-by-Step: Propagating Monstera in Soil
Plant the cutting in a small pot with well-draining potting mix, burying the node. Keep the soil consistently moist but not waterlogged, and provide high humidity.
Soil propagation can lead to more robust root systems that are better adapted to their permanent home. Here's how to do it:
- Prepare Your Potting Mix: Use a well-draining, airy potting mix. A good aroid mix typically includes orchid bark, perlite, and coco coir or peat moss. This prevents waterlogging and promotes aeration.
- Choose a Small Pot: A 4-6 inch pot with drainage holes is usually sufficient for a single cutting. Too large a pot can hold excess moisture, leading to rot.
- Prepare the Cutting: If desired, dip the cut end and node of your Monstera cutting into rooting hormone powder or gel. Tap off any excess.
- Plant the Cutting: Create a small hole in the center of your potting mix. Insert the cutting, ensuring that at least one node is buried beneath the soil surface. Gently firm the soil around the base of the cutting to provide support.
- Water Thoroughly: Water the soil immediately after planting until water drains from the bottom of the pot. This settles the soil around the cutting.
- Create Humidity (Optional but Recommended): To increase success rates, you can create a mini-greenhouse effect. Place a clear plastic bag over the pot, ensuring it doesn't touch the leaves, or use a humidity dome. Vent daily for fresh air.
- Placement: Place the potted cutting in a location with bright, indirect light and consistent warm temperatures (70-80°F).
- Maintain Moisture: Keep the soil consistently moist but never soggy. Allow the top inch of soil to dry out slightly before watering again. Overwatering is a common cause of rot in soil propagation.
Caring for Your Monstera Cuttings: Tips for Success
Maintain consistent warmth (70-80°F), high humidity, and bright, indirect light. Avoid direct sunlight, which can scorch delicate new growth. Patience is key during this stage.
Regardless of your chosen propagation method, providing optimal environmental conditions is crucial for encouraging root development and preventing issues. Here are key care tips:
- Temperature: Monstera cuttings thrive in warm conditions, ideally between 70-80°F (21-27°C). Cooler temperatures will significantly slow down or halt root growth.
- Humidity: High humidity is beneficial for cuttings as it reduces water loss through transpiration while the plant is establishing roots. Use a humidity dome, a pebble tray, or a nearby humidifier.
- Light: Provide bright, indirect light. A north or east-facing window is often ideal. Direct sunlight can be too intense for vulnerable cuttings, leading to scorched leaves or overheating.
- Air Circulation: While humidity is good, stagnant, humid air can encourage fungal growth. Ensure there's some gentle air movement, especially if using a humidity dome, by venting it daily.
- Patience is a Virtue: Rooting takes time. Don't be discouraged if you don't see immediate results. Some cuttings can take several weeks or even months to develop a robust root system.
- Avoid Disturbing: Resist the urge to constantly pull up soil-propagated cuttings to check for roots, as this can damage delicate new growth.
When Are Monstera Cuttings Ready for Potting?
For water-rooted cuttings, transfer to soil when roots are 2-4 inches long. For soil-rooted cuttings, gently tug; if there's resistance, it's likely rooted.
Knowing when to transition your rooted cutting to its permanent home is vital for its long-term health. Moving too soon can lead to transplant shock, while waiting too long can make the transition harder.
For Water-Rooted Cuttings:
- Root Length: Wait until the roots are at least 2-4 inches long and have started to branch. These are often referred to as "water roots" and are more fragile than soil-grown roots.
- Acclimatization: To ease the transition, you can gradually introduce a small amount of potting mix into the water over a few days, or place the cutting in a mix of perlite and sphagnum moss before moving to soil.
- Potting: Plant the cutting in a small pot (4-6 inches) with well-draining aroid mix. Water thoroughly after potting.
- Post-Potting Care: Keep the newly potted plant in a high-humidity environment and bright, indirect light for the first few weeks to help it adjust. The plant may experience a slight shock, but should recover.
For Soil-Rooted Cuttings:
- Resistance Test: Gently tug on the cutting. If you feel resistance, it indicates that roots have formed and are anchoring the plant in the soil.
- New Growth: The appearance of new leaf growth is a strong indicator that the cutting has successfully rooted and is actively growing.
- Potting Up: Once rooted, you can continue to grow it in its current pot until it outgrows it, then repot into a slightly larger container.
Troubleshooting Common Monstera Propagation Problems
Address issues like yellowing leaves (overwatering/underwatering), no root growth (insufficient warmth/light), or rot (poor sanitation/overwatering) promptly to save your cutting.
Propagation isn't always straightforward, and you might encounter a few hurdles. Here are common problems and their solutions:
Problem: Cuttings Rotting Before Rooting
- Solution: This is often due to bacterial or fungal issues. Ensure your cutting tools are sterilized. If water propagating, change the water every 2-3 days and rinse the stem. If soil propagating, ensure excellent drainage and avoid overwatering. Consider adding a tiny amount of hydrogen peroxide to water (a few drops per cup) to inhibit pathogens.
Problem: No Root Growth After Several Weeks
- Solution: Lack of roots usually points to environmental factors. Check for adequate warmth (70-80°F) and sufficient bright, indirect light. Ensure the node is fully submerged in water or in firm contact with moist soil. Rooting hormone can also stimulate growth.
Problem: Yellowing Leaves on Cuttings
- Solution: Yellowing can indicate several issues. If in soil, it might be overwatering. If in water, it could be a lack of nutrients (though this is less common early on) or simply the plant sacrificing older leaves to conserve energy for root production. Ensure proper light and watering. Once roots are established, a very dilute liquid fertilizer can be introduced.
Problem: Leaves Wilting or Drooping
- Solution: This often means the cutting isn't taking up enough water, either due to lack of roots or too low humidity. Increase humidity around the cutting. If in soil, check moisture levels; if in water, ensure the node is submerged. If the cutting is very large, consider trimming some leaves to reduce water loss.
Expert Tips & Advanced Techniques
Beyond the basics, experienced propagators use several techniques to boost success rates and accelerate growth. Consider these advanced tips:
- Sphagnum Moss Propagation: For a balance between water and soil, sphagnum moss offers excellent moisture retention and aeration. Keep the moss consistently damp, not soaking wet, and provide high humidity.
- Perlite Propagation: Cuttings can also root well in 100% perlite, which provides superb aeration and prevents rot. Keep the perlite moist.
- Airlayering: This technique involves encouraging roots to form on the stem while it's still attached to the mother plant. Wrap a node with moist sphagnum moss and plastic wrap. Once roots form, cut below the roots and pot up.
- Heat Mats: A seedling heat mat placed under your propagation container can provide consistent bottom heat, significantly speeding up root development, especially in cooler environments.
- Cloning Collars: For water propagation, cloning collars can help suspend the cutting in the water, ensuring the node is submerged while keeping the stem stable and preventing rot at the water line.
- Patience with Aerial Roots: If your cutting has a long aerial root, you can coil it gently into the water or soil. These roots are already adapted to absorbing moisture and can give your cutting a head start.
FAQ Section
How long does it take for Monstera cuttings to root?
Monstera cuttings typically take anywhere from 2 to 8 weeks to develop visible roots, though some can take longer, especially in cooler conditions or with less ideal light. Patience and consistent care are key during this period.
Do Monstera cuttings need rooting hormone?
Rooting hormone is not strictly necessary for Monstera cuttings, as they are generally easy to root. However, using a rooting hormone can significantly speed up the process and increase the success rate, especially for soil propagation or if you want to give your cutting an extra boost.
Can I propagate Monstera without a node?
No, you cannot successfully propagate Monstera without a node. The node is the critical point on the stem where new roots and leaves emerge. A cutting without a node, often called a "leaf cutting," will not develop into a full plant, though the leaf may stay alive for some time.
Why are my Monstera cuttings not rooting?
Common reasons for Monstera cuttings not rooting include insufficient warmth (below 70°F), inadequate bright, indirect light, the node not being properly submerged or in contact with the rooting medium, or the presence of rot due to poor sanitation or overwatering. Review your conditions and adjust as needed.
What kind of soil is best for Monstera cuttings?
A well-draining, airy potting mix is best for Monstera cuttings. An aroid-specific mix containing components like orchid bark, perlite, and coco coir or peat moss provides the necessary aeration and moisture retention without becoming waterlogged, which can lead to rot.
When should I fertilize my newly rooted Monstera cutting?
Wait until your Monstera cutting has developed a robust root system and has been successfully transferred to soil for at least a few weeks. Begin with a very dilute, balanced liquid fertilizer (e.g., half-strength) and gradually increase as the plant matures and shows active new growth.
Can I use a grow light for Monstera propagation?
Yes, a grow light can be highly beneficial for Monstera propagation, especially if you don't have access to sufficient natural bright, indirect light. Position the grow light a safe distance away to avoid scorching, typically 12-24 inches, and provide 12-14 hours of light per day.
Summary & Next Steps
Propagating Monstera from cuttings is an accessible and rewarding way to expand your plant collection. By following these key steps, you can ensure a high success rate:
- Select a healthy cutting with at least one node and ideally an aerial root.
- Sterilize your tools to prevent disease.
- Choose your method: Water for visibility, soil for stronger roots, or advanced mediums like sphagnum moss.
- Provide optimal conditions: Bright, indirect light, consistent warmth (70-80°F), and high humidity.
- Be patient and monitor your cuttings for root development.
- Troubleshoot common issues like rot or lack of rooting promptly.
Once your cuttings have established strong root systems, transition them carefully to their permanent pots. Continue to provide consistent care, and soon you'll have thriving new Monstera plants to enjoy or share. Happy propagating!